This deserves it’s own post, just to get all the information together in one place.
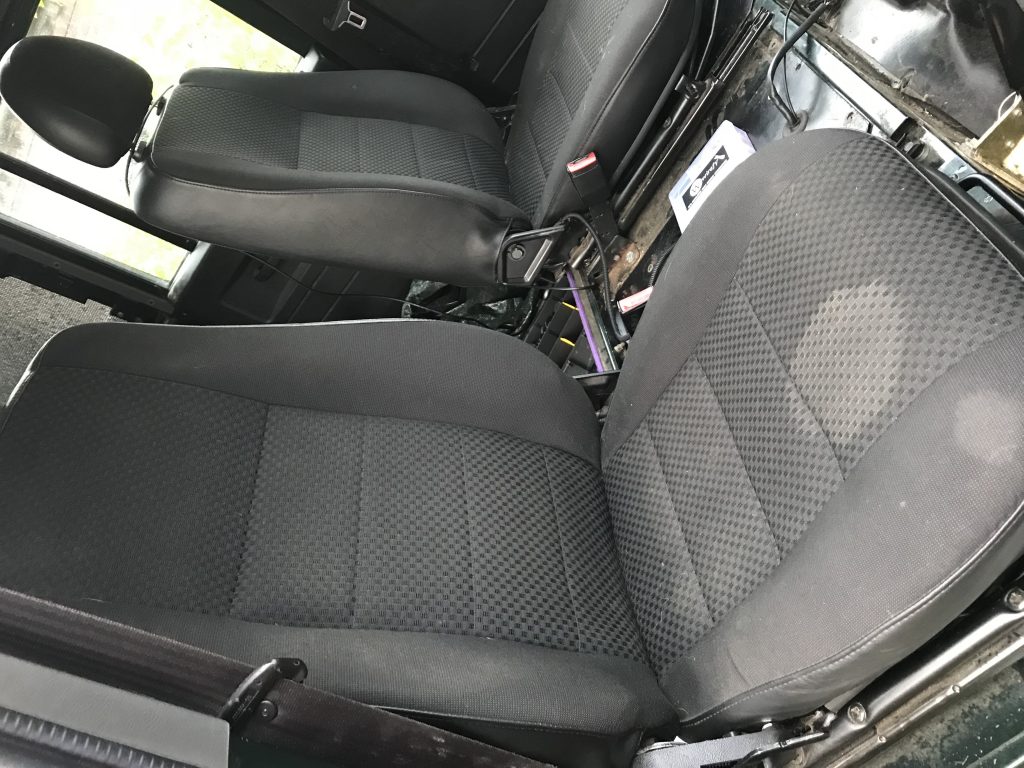
I purchased some Defender Puma take out seats from a supplier on the internet. I went with the Mondus trim material, as I was worried about destroying leather, particularly with the dog. These came with the heating elements already fitted from the factory.

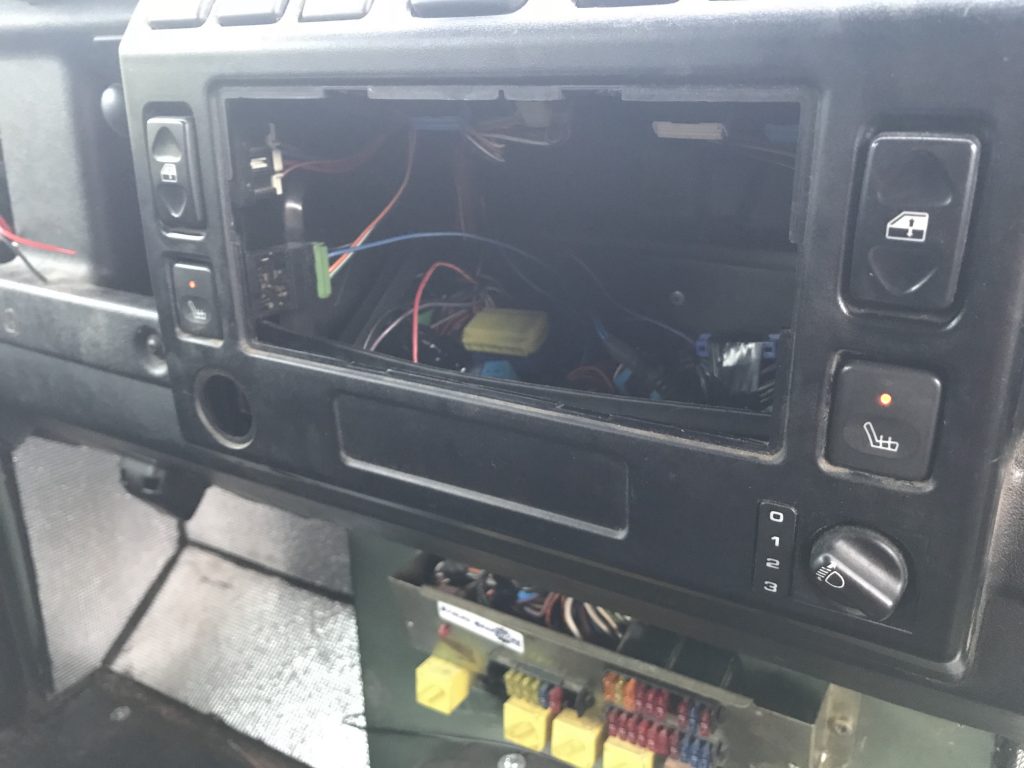
I wanted to do the wiring as OEM like as possible, so I started by finding some heated seat switches. Part numbers: YUG102430 (LH) & YUG102440 (RH). The switches are quite expensive new, however I found out that very similar switches are used in Discoverys with heated seats, and can be made to fit by trimming the keyway off the side of the switch.
I then looked at sourcing the connectors for the switches (YUF500150LNF & YPC10526) and the connectors for the seats. The seat connectors were prohibitively expensive in small quantities, so I found a pre-made loom online by MobileCentre which came with the correct connectors and the correct coloured wire.

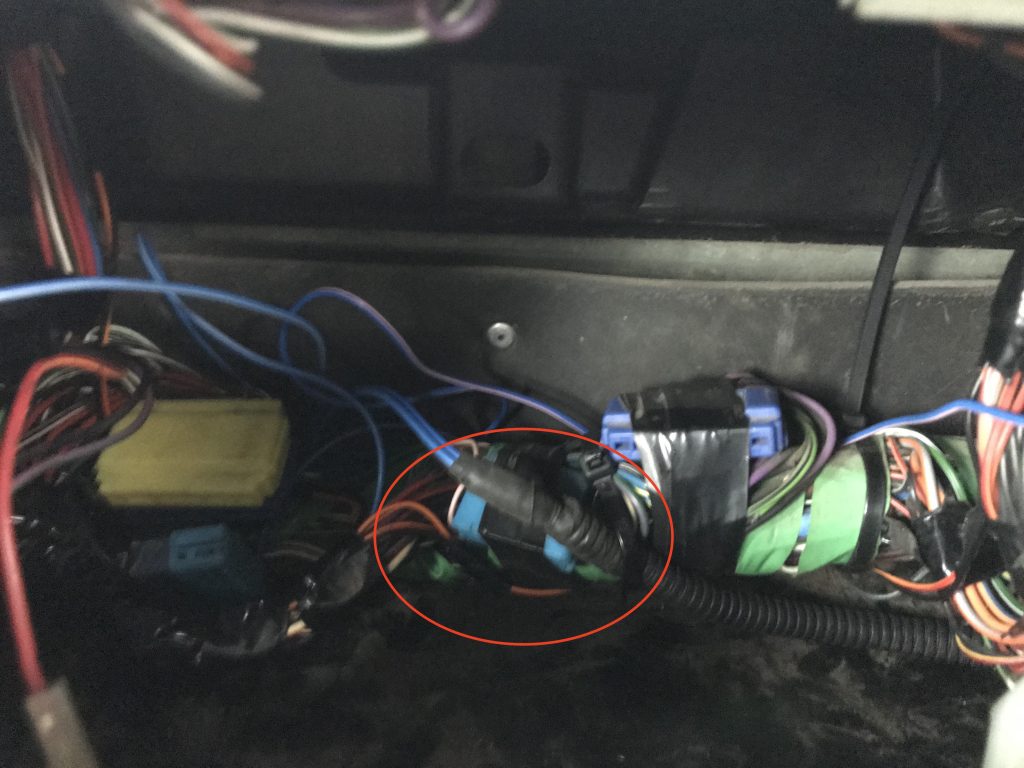
The green plug is for the passenger seat, and the black plug is for the drivers seat (assuming you’re in a RHD vehicle). This loom is ready to go, you just need to feed it power, ground and illumination for the backlights of the switches.
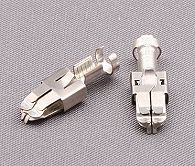
Keeping with the OEMness of it, I chose to power these from Fuse 33 which is in the passenger compartment fuse box. This is where the factory fit loom connects to. The connectors you need are similarly expensive from Land Rover (around £6/pin). There’s a very close match been found made by PoleVolt, part number 3-4647. These are a much more acceptable 36p/pin.

The wires from the switches to the seats is the right length to be run out via the bulkhead grommets, down under and along the chassis where the rest of the loom goes and then back into the centre where the cables attached to the seats can come down and reach. I got some 6mm ID flexible ducting to run to cables in and protect them from the elements. I also ran some 4 core alarm cable 24AWG for my CB, as I’m going to similarly power it from the switched power in the fuse box, and potentially take the audio back to be played out of the speakers. The ends of the ducting have been taped up with self-amalgamating tape to seal it.

With all of that complete, all that’s left is to test 🙂 Started the engine to not kill the battery (they can draw a few amps each). Nice and warm, going to be great come winter.
